
Mouthpiece boiling is a process used to shape and sterilize mouthguards or dental appliances. It involves submerging the device in boiling water to soften the material for customization. This method is commonly used for dental guards, sports mouthguards, and musical instrument mouthpieces. Proper boiling ensures a snug, comfortable fit and optimal functionality. Always follow specific instructions for safety and effectiveness.
Importance of Boiling a Mouthpiece
Importance of Boiling a Mouthpiece
Boiling a mouthpiece is essential for ensuring proper fit and hygiene. It softens the material, allowing it to mold to your teeth for a comfortable and secure fit. This step is crucial for dental guards and sports mouthguards, providing optimal protection and functionality. Boiling also sterilizes the mouthpiece, removing bacteria and germs, which is vital for maintaining oral hygiene. A properly boiled mouthpiece ensures it adapts to your dental structure, enhancing performance and comfort. This process is a fundamental step in preparing a mouthpiece for use, ensuring safety, effectiveness, and longevity of the device.
Safety Precautions Before Boiling
Before boiling a mouthpiece, ensure safety by handling hot water carefully. Always use tongs or a slotted spoon to submerge and retrieve the mouthpiece to avoid burns. Never leave boiling water unattended, especially if children are present. Ensure the container is large enough to prevent overflow and that the water level is sufficient to fully submerge the mouthpiece. Avoid boiling a dry container, as it can cause damage or accidents. Keep flammable materials away from the stove. After boiling, allow the mouthpiece to cool slightly before handling to prevent scalding. Always follow the manufacturer’s guidelines for temperature and timing to ensure safety and effectiveness.
Preparing the Mouthpiece for Boiling
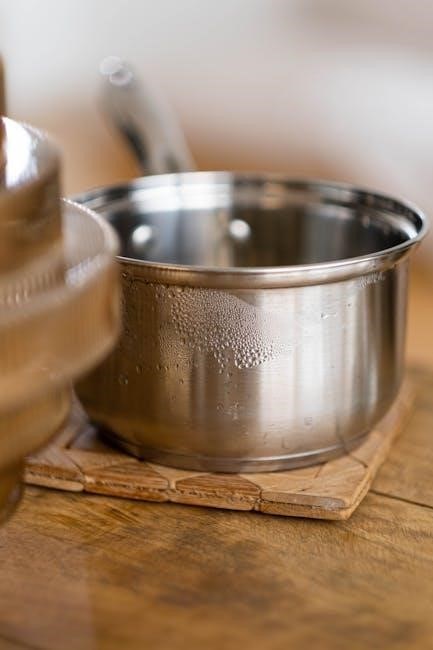
Before boiling, wash your hands and the mouthpiece with soap and water. Use a clean pot, fill it with enough water to submerge the mouthpiece, and bring to a boil. Handle the mouthpiece with tongs or a slotted spoon to avoid direct contact with hot water. Ensure the mouthpiece is free of debris for proper submersion and shaping.
Materials Needed for Boiling
Materials Needed for Boiling
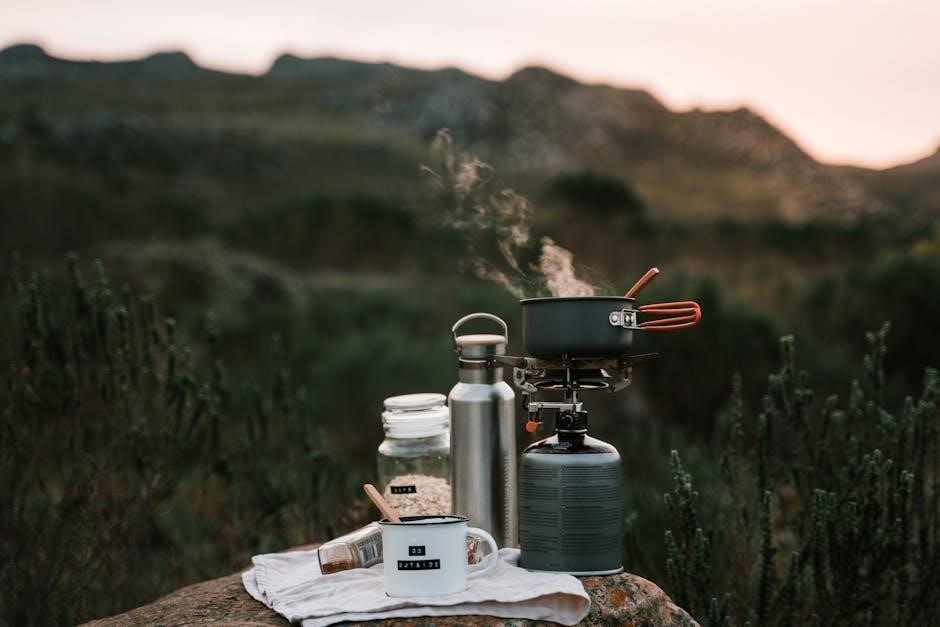
To boil a mouthpiece, you will need a clean pot, water, and a heat source; A slotted spoon or tongs are helpful for handling the mouthpiece. Ensure the pot is large enough to fully submerge the mouthpiece. Use fresh, clean water to prevent contamination. A timer is also useful to monitor boiling time accurately. After boiling, have a bowl of cold water ready to cool the mouthpiece quickly. Optional items include a thermometer to maintain the correct temperature and gloves for handling hot equipment. These materials ensure a safe and effective boiling process for shaping and sterilizing the mouthpiece.
Inspecting the Mouthpiece for Damage
Inspecting the Mouthpiece for Damage
Before boiling, inspect the mouthpiece for any cracks, tears, or signs of wear. Ensure the surface is free of debris or mineral buildup. Check the interior and exterior for damage, as this can affect the fit and functionality. If the mouthpiece is damaged, boiling may not be sufficient to restore it, and professional attention may be needed. A thorough inspection ensures safety and effectiveness during the boiling process. This step is crucial for maintaining the integrity of the mouthpiece and achieving a proper fit after shaping.

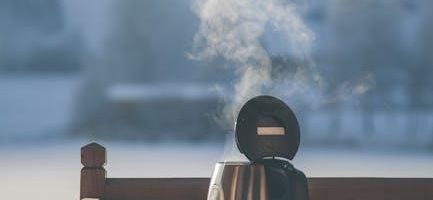
The Boiling Process
Bring water to a boil, submerge the mouthpiece, and let it soften for 30-60 seconds. Ensure full submersion for even heating and proper shaping.
Step-by-Step Boiling Instructions
Step-by-Step Boiling Instructions
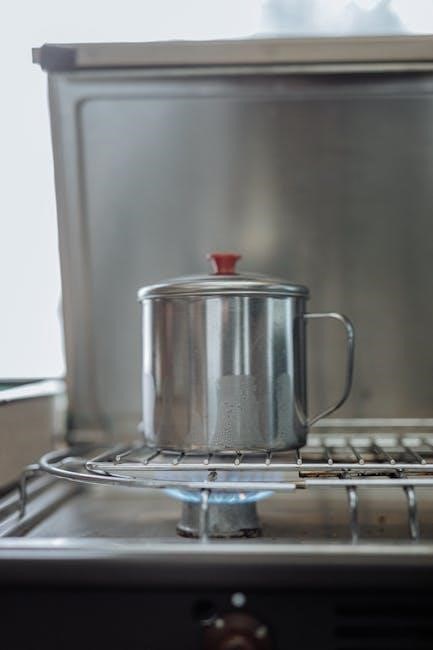
Fill a pot with enough water to fully submerge the mouthpiece. Bring the water to a rolling boil on a stove or in a kettle.
Carefully place the mouthpiece into the boiling water, ensuring it is completely submerged.
Allow the mouthpiece to boil for 30-60 seconds, depending on the material and thickness.
Use a slotted spoon or tongs to remove the mouthpiece from the water.
Let it cool for 10-15 seconds to avoid burns.
Immediately place the mouthpiece in your mouth and bite down gently to shape it to your teeth.
Hold the bite for 30 seconds to set the shape.
Remove and let it cool completely before using. Always follow the manufacturer’s guidelines for boiling time and temperature.
Recommended Boiling Time for Different Mouthpieces
Recommended Boiling Time for Different Mouthpieces
The boiling time varies depending on the type and material of the mouthpiece. Standard mouthguards typically require 30-60 seconds in boiling water, while sports mouthguards may need 45-60 seconds. Musical instrument mouthpieces, like those for clarinets or trumpets, usually require 20-30 seconds to avoid warping. Custom dental appliances may need longer, up to 2 minutes, but always check the manufacturer’s instructions. Over-boiling can soften the material too much, leading to a poor fit. For most mouthpieces, the recommended time is 30-45 seconds. Always ensure the water is at a full boil before submerging the mouthpiece and avoid exceeding the suggested duration to maintain its integrity and shape.
How to Ensure Proper Submersion
How to Ensure Proper Submersion
To ensure proper submersion of the mouthpiece, fill a pot with enough water to fully cover it. Bring the water to a rolling boil, then carefully place the mouthpiece into the pot using tongs or a slotted spoon. Ensure the mouthpiece is completely submerged to allow even softening. Avoid overcrowding the pot, as this can prevent proper submersion. For larger mouthpieces, you may need a deeper pot. Once submerged, let it sit for the recommended time, then carefully remove it with tongs to avoid burns. Proper submersion ensures the material softens evenly, allowing for a precise fit during shaping.
Cooling and Shaping the Mouthpiece
After boiling, remove the mouthpiece from the water with tongs and let it cool slightly. Immediately place it in your mouth, bite down gently, and shape it to fit your teeth perfectly. Hold it in place until it cools and hardens to ensure a secure, customized fit. Proper cooling and shaping are crucial for comfort and effectiveness.
Cooling the Mouthpiece After Boiling
After boiling, carefully remove the mouthpiece from the water using tongs or a slotted spoon to avoid burns. Immediately submerge it in cold water or allow it to cool in the air for a few seconds. This step is crucial to prevent overheating, which can cause discomfort when fitting. Once slightly cooled, the mouthpiece becomes pliable but not too hot to handle. Proper cooling ensures it can be shaped without risking burns or damage. Timing is essential—cooling for about 10-20 seconds typically allows the mouthpiece to reach a safe temperature for fitting. Always prioritize caution to avoid any injury.
Shaping the Mouthpiece to Fit Your Teeth
Once cooled slightly, place the mouthpiece in your mouth and bite down gently but firmly to mold it to your teeth. Use a mirror to ensure proper alignment. Hold the bite for 20-30 seconds to set the shape. If needed, use your fingers to press the edges against your teeth for a snug fit. Avoid overheating, as this can distort the material. Proper shaping ensures comfort and effectiveness. Repeat the process if adjustments are necessary. Always follow specific instructions for your mouthpiece type to achieve the best results. Correct shaping is key for optimal performance and user satisfaction.

Fitting the Mouthpiece
Place the mouthpiece in your mouth, ensuring a secure fit. Check alignment and adjust as needed for comfort and proper seal. Verify functionality and comfort.
Testing the Fit of the Mouthpiece
Testing the Fit of the Mouthpiece
After boiling and shaping, place the mouthpiece in your mouth to test the fit. Ensure it sits comfortably and aligns properly with your teeth and gums. Check the seal by gently inhaling through your mouth to see if air leaks. The mouthpiece should feel snug but not tight, staying securely in place without shifting. If it feels loose or uneven, adjust the shape as needed. Proper fit ensures optimal performance and comfort during use; Take a moment to breathe naturally to confirm the fit and functionality of the mouthpiece.
Adjusting the Mouthpiece for Comfort
Adjusting the Mouthpiece for Comfort
After boiling and shaping, fine-tune the mouthpiece for optimal comfort. If it feels too tight or loose, carefully reheat it in hot water (not boiling) to soften the material slightly. Use your fingers to gently pull or press the mouthpiece into the desired shape, ensuring it aligns with your teeth and gums. Allow it to cool completely to set the new form. Repeat this process as needed, taking care not to over-soften the material. Proper adjustment ensures a secure, comfortable fit that enhances performance and prevents discomfort during use. Regularly check and adjust the mouthpiece to maintain a perfect balance of fit and functionality.

Drying and Storage
Proper drying and storage are crucial for hygiene and longevity. Allow the mouthpiece to air dry completely after boiling and shaping. Gently pat it with a clean cloth to remove excess moisture. Store it in a protective case to prevent damage and contamination. Keep it away from direct sunlight and extreme temperatures to maintain its shape and effectiveness.
Proper Drying Techniques
Proper Drying Techniques
After boiling and shaping, carefully remove the mouthpiece from water with a clean utensil. Gently shake off excess water and place it on a dry cloth. Allow it to air dry completely, ensuring no moisture remains. Avoid rubbing or squeezing to prevent deformation. For optimal results, let it sit at room temperature, away from direct sunlight. Proper drying prevents bacterial growth and maintains hygiene. Never store the mouthpiece while it’s still wet, as this can lead to mold or mildew. Patience ensures the mouthpiece remains clean and ready for use or storage.
Storage Solutions to Maintain Hygiene
Storage Solutions to Maintain Hygiene
After the mouthpiece has cooled and dried completely, store it in a clean, dry container to prevent contamination. Use a protective case or box with ventilation to ensure airflow, which helps prevent moisture buildup. Avoid storing it in direct sunlight or extreme temperatures, as this can cause warping. Always keep the mouthpiece away from humid environments to maintain hygiene. Regularly inspect the storage container for cleanliness and replace it if necessary. For additional protection, lightly rinse the mouthpiece with cool water before storage. This method ensures the mouthpiece remains clean, dry, and ready for its next use, maintaining both functionality and hygiene.
Maintenance and Hygiene
Regularly clean the mouthpiece with mild soap and warm water to prevent bacteria buildup. Rinse thoroughly and dry before storing to maintain hygiene and longevity.
Regular Cleaning of the Mouthpiece
Regular cleaning is essential to maintain hygiene and prevent bacterial growth. After each use, rinse the mouthpiece with warm water to remove debris. Use a mild soap solution, gently scrubbing with a soft brush to sanitize all surfaces. Avoid harsh chemicals or abrasive materials that could damage the material. For deeper cleaning, soak the mouthpiece in a mixture of equal parts water and white vinegar for 30 minutes. Rinse thoroughly and dry with a clean towel to prevent moisture buildup. Regular cleaning ensures the mouthpiece remains hygienic and comfortable for continued use. This routine should be performed daily for optimal maintenance.
Frequency of Boiling for Maintenance
Boiling frequency depends on usage and hygiene needs. For mouthpieces used daily, boil every 1-2 weeks to maintain shape and sanitize thoroughly. After illness or exposure to germs, boil immediately to disinfect. Sports mouthguards should be boiled monthly or after intense use. Musical instrument mouthpieces may require boiling every 1-3 months, depending on playing frequency. Over-boiling can degrade materials, so adhere to recommended intervals. Always follow manufacturer guidelines for specific care instructions. Proper boiling frequency ensures longevity, fit, and hygiene of the mouthpiece, preventing bacterial buildup and maintaining optimal performance. Consistency is key to preserving both function and comfort;
Troubleshooting Common Issues
If the mouthpiece doesn’t fit, re-boil and reshape. For warping, re-boil and align properly. To prevent deformation, avoid overheating. Ensure proper submersion for even softening. If still issues arise, consult the manufacturer or a professional for guidance. Regular maintenance and careful handling can prevent most problems. Always follow instructions to avoid common mistakes and ensure optimal results. Proper care extends the lifespan of the mouthpiece and maintains its effectiveness. Addressing issues promptly helps preserve both function and comfort, ensuring the mouthpiece remains in good condition for continued use.
Resolving a Poor Fit After Boiling
If the mouthpiece doesn’t fit properly after boiling, re-boil it and reshape it while still warm. Ensure proper cooling before reinserting to avoid discomfort. If the fit remains poor, check for uneven softening or improper alignment during shaping. Gently bite down to mold it to your teeth, ensuring even pressure. If the issue persists, repeat the boiling process, focusing on achieving the correct temperature and submersion time. To avoid warping, avoid overheating or leaving it in boiling water too long. Proper reshaping requires careful handling and attention to detail. If the fit is still unsatisfactory, consult a professional for adjustments. Always follow the manufacturer’s guidelines for optimal results and a comfortable fit.
Addressing Warping or Deformation
If the mouthpiece becomes warped or deformed during boiling, it may require reshaping or re-boiling. Allow it to cool slightly, then gently mold it back to its original shape. If severe warping occurs, re-boil it for a shorter duration and reshape carefully to avoid further damage. Uneven cooling can cause deformation, so submerge the mouthpiece in cold water immediately after boiling to set its shape. To prevent warping, avoid overheating or leaving it in boiling water longer than recommended. If the deformation is irreversible, consult the manufacturer or consider replacing the mouthpiece. Proper handling and adherence to boiling instructions are key to maintaining its integrity and fit.
Additional Tips for Optimal Results
Use the correct water temperature and avoid overheating. Ensure proper submersion for even softening. Monitor boiling time to prevent damage. Handle carefully to maintain shape and fit.
Using the Correct Water Temperature
Using the correct water temperature is crucial for mouthpiece boiling. Aim for a gentle boil, around 90°C to 100°C, to soften the material without causing damage. Avoid a rolling boil, as it can deform the mouthpiece. Use a thermometer to monitor the temperature accurately. If the water is too hot, it may melt or warp the material, while water that’s too cool may not soften it properly. Once boiling, reduce the heat slightly to maintain a steady temperature. Let the water stand for a few seconds before submerging the mouthpiece to ensure even heating. This step ensures the mouthpiece softens uniformly for proper shaping and fitting.
Avoiding Common Mistakes During Boiling
Avoiding common mistakes during the boiling process is essential for achieving a proper fit and maintaining the mouthpiece’s integrity. One frequent error is leaving the mouthpiece in boiling water for too long, which can cause excessive softening or deformation. Another mistake is using water that’s either too hot or too cool, leading to uneven softening. Additionally, failing to handle the mouthpiece gently after boiling can result in stretching or misshaping. Always use a timer to adhere to the recommended boiling time and handle the mouthpiece carefully with tongs or a slotted spoon to prevent damage; Proper care ensures the mouthpiece retains its shape and provides a comfortable fit.
Properly boiling your mouthpiece ensures a perfect fit, optimal performance, and maintains hygiene. Always follow guidelines for safety and effectiveness.
Final Thoughts on Mouthpiece Boiling
Boiling a mouthpiece is a simple yet effective process to customize its fit and maintain hygiene. Always follow the manufacturer’s instructions to avoid damaging the material. Proper boiling ensures the mouthpiece softens enough for shaping without becoming too fragile. After cooling, test the fit to ensure comfort and security. Regular maintenance, including cleaning and occasional re-boiling, will extend its lifespan. Avoid common mistakes like overheating or insufficient cooling, as these can warp the device. By adhering to these guidelines, you can achieve a perfect fit and optimal performance from your mouthpiece.
Importance of Following Instructions
Following instructions when boiling a mouthpiece is crucial for safety and effectiveness. Proper steps ensure the device softens adequately without damage, allowing it to mold correctly to your teeth. Deviating from guidelines can lead to improper fits or structural issues. Always use the recommended water temperature and boiling time to prevent warping or weakening of the material. Correct cooling and shaping techniques are essential for comfort and functionality. Ignoring instructions may result in a poor fit, reduced performance, or even harm. Adhering to the provided steps ensures a safe, effective, and long-lasting mouthpiece, making it vital to follow each instruction carefully.