

Welcome to the Nikon EM Instruction Manual. This guide provides comprehensive instructions for operating and maintaining your camera. Designed for both new users and photography enthusiasts, it covers all essential features, ensuring you make the most of your Nikon EM.
1.1 Overview of the Nikon EM Camera
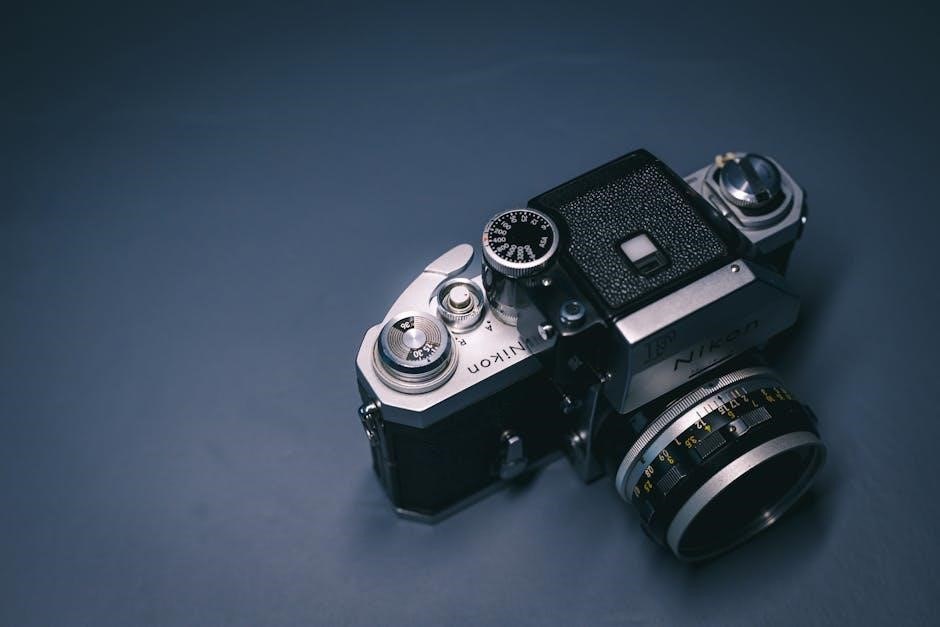
The Nikon EM is a compact and lightweight 35mm film SLR camera designed for ease of use. Introduced in the 1970s, it is part of Nikon’s E-series, offering simplicity and affordability while maintaining Nikon’s reputation for quality. The camera features a built-in silicon photo diode (SPD) meter for accurate exposure control and supports interchangeable lenses, including Nikon’s Series E and AI-type Nikkor lenses. Its durable design and user-friendly interface make it an excellent choice for both beginners and photography enthusiasts. The Nikon EM remains a popular option for those seeking a reliable and portable film camera.
1.2 Importance of the Instruction Manual
The instruction manual is essential for maximizing the Nikon EM’s potential. It provides detailed guidance on camera operation, from basic functions like loading film and setting exposure to advanced features such as metering systems and lens compatibility. The manual also includes troubleshooting tips and maintenance advice, ensuring optimal performance. By understanding the camera’s capabilities and proper usage, photographers can enhance their creative control and achieve better results. Referencing the manual helps users overcome challenges and explore the full range of features, making it an indispensable resource for both new and experienced photographers.

Nomenclature of the Nikon EM
The Nikon EM’s nomenclature includes key components like the frame counter, shutter operation mode selector, shutter release button, and shutter release fingerguard. These parts are essential for operation.
2.1 Frame Counter
The frame counter on the Nikon EM displays the number of exposures made on the current roll of film. Located on the top plate, it starts at “S” (start) and increments with each shot. Once the counter reaches the end of the film roll, it resets automatically. This feature helps photographers keep track of their shots and ensures they don’t exceed the film’s capacity. Proper use of the frame counter is essential for efficient photography with the Nikon EM.
2.2 Shutter Operation Mode Selector
The Shutter Operation Mode Selector is located on the top plate of the Nikon EM, near the frame counter. This control allows photographers to choose between manual and automatic exposure modes. In manual mode, both aperture and shutter speed are set by the user, while in automatic mode, the camera adjusts the aperture based on the selected shutter speed. The selector ensures precise control over exposure settings, catering to both novice and experienced photographers. Proper use of this feature enhances creative flexibility and ensures optimal results in various lighting conditions. Always refer to the manual for detailed mode-specific instructions.
2.3 Shutter Release Button
The Shutter Release Button is a key control located on the top plate of the Nikon EM, positioned for easy access with the index finger. It is used to trigger the shutter mechanism, capturing the image. The button features a smooth, responsive design, providing tactile feedback when pressed. Partial pressure on the button activates the metering system, while a full press releases the shutter. A slight “click” sound confirms the exposure. The button is designed to minimize camera shake, ensuring sharp images. Proper technique, such as pressing gently and steadily, is essential for optimal results. Regular cleaning of the button is recommended for smooth operation.
2.4 Shutter Release Fingerguard
The Shutter Release Fingerguard is a textured, rubberized ring surrounding the Shutter Release Button on the Nikon EM. It provides a secure grip for the photographer’s finger, enhancing control and comfort during shooting. The fingerguard’s ergonomic design helps prevent accidental button presses, reducing the risk of camera shake and unintended exposures. Its soft texture ensures a comfortable fit for extended use. Cleaning the fingerguard with a soft cloth is recommended to maintain its grip and appearance. The fingerguard is an integral part of the camera’s user-friendly design, contributing to a smooth and intuitive shooting experience for photographers of all levels. Regular maintenance ensures optimal functionality.
Basic Operation of the Nikon EM
Mastering the Nikon EM involves loading film, setting the film speed, focusing the lens, and adjusting aperture and shutter settings for optimal results in various lighting conditions.
3.1 Loading Film
To load film in the Nikon EM, open the camera back by releasing the latch. Insert the film cartridge, aligning it with the spool. Gently pull the film leader to the take-up spool and secure it. Close the back and advance the film advance lever to the first frame. Ensure the frame counter shows “1” and the exposure counter is at “S.” This process prepares your camera for shooting, maintaining proper film tension and ensuring accurate frame counting. Always handle the film in low-light conditions to prevent exposure.
3.2 Setting the Film Speed
To set the film speed on the Nikon EM, locate the exposure compensation dial on the top of the camera. Turn the dial to match the ISO rating of your film, ensuring proper exposure. The dial is designed for quick adjustment, allowing you to adapt to varying lighting conditions. Always set the film speed before loading the film for accurate metering. If you change the film speed after loading, adjust the aperture or shutter speed accordingly to maintain correct exposure. This feature ensures optimal results for different film types and lighting scenarios.
3.3 Focusing the Lens
To focus the lens on the Nikon EM, use the focusing ring located on the lens barrel. Turn the ring until the subject appears sharp in the viewfinder. For precise focusing, align the match-needle in the viewfinder by gently turning the focusing ring. The lens is equipped with a precise mechanical system to ensure accurate focus. Always ensure the lens is clean to avoid damage. For optimal results, focus on a high-contrast area of the subject. The Nikon EM’s focusing system is designed for smooth operation, allowing quick adjustments for sharp images. Use the built-in focusing aids for better accuracy.
3.4 Setting the Aperture
To set the aperture on the Nikon EM, locate the aperture ring on the lens, typically nearest the camera body. Rotate the ring to select the desired f-stop value, ensuring it aligns with the marker. Lower f-stops (e.g., f/2.8) open the aperture wider for more light and a shallower depth of field, ideal for portraits. Higher f-stops (e.g., f/16) reduce light entry and increase depth of field, suitable for landscapes. Use the viewfinder’s light meter to balance aperture with shutter speed for proper exposure. Practice adjusting the aperture to understand its effects on your images, ensuring optimal results with your Series E lenses;
3.5 Setting the Shutter Speed
Set the shutter speed on the Nikon EM by rotating the shutter speed dial, located on the top of the camera. Choose from speeds ranging from 1/1000th of a second to 4 seconds. Use the built-in light meter to select the appropriate speed for correct exposure. Faster speeds (e.g., 1/500) are ideal for freezing motion or bright lighting, while slower speeds (e.g., 1/30) are better for low-light conditions or creating motion blur. Ensure the selected speed aligns with the marker for accurate operation. Always test different speeds to achieve the desired effect in your photographs.
Advanced Features of the Nikon EM
Explore advanced features like the metering system, exposure compensation, and built-in flash. These tools enhance creativity, enabling precise control over lighting and exposure for professional-quality results.
4.1 Metering System
The Nikon EM features a Silicon Photo Diode (SPD) metering system, providing accurate light measurement. It automatically calculates exposure settings, ensuring optimal results in various lighting conditions. The SPD meter is sensitive and reliable, offering precise control over exposure, even in challenging environments. This advanced system simplifies photography, allowing users to focus on composition and creativity rather than manual adjustments. With the SPD metering system, the Nikon EM delivers consistent and high-quality images, making it a versatile tool for photographers of all skill levels.
4.2 Exposure Compensation
Exposure compensation on the Nikon EM allows photographers to adjust the exposure settings manually, enabling finer control over image brightness. This feature is particularly useful in challenging lighting conditions, such as backlit scenes or high-contrast environments. By adjusting the exposure compensation, users can override the camera’s metered settings to achieve the desired effect. The Nikon EM provides a straightforward method for applying exposure compensation, ensuring that photographers can easily fine-tune their shots without complex adjustments. This feature enhances creative control, making it easier to capture images that match the photographer’s vision accurately.
4.3 Using the Built-in Flash
The Nikon EM features a built-in flash for convenient use in low-light conditions. The flash automatically activates when lighting is insufficient, providing balanced illumination. For manual control, users can override the auto-flash mode to disable or force activation. The flash covers a wide angle, ensuring even lighting with standard lenses. Synchronization with the shutter ensures sharp images without ghosting. Easy to operate, the built-in flash enhances versatility, allowing photographers to capture well-lit shots in various environments.

Lens Compatibility and Accessories
The Nikon EM is compatible with Nikkor lenses, including Series E lenses, ensuring versatility in photography. Genuine Nikon accessories enhance functionality and image quality.

5.1 Compatible Lenses
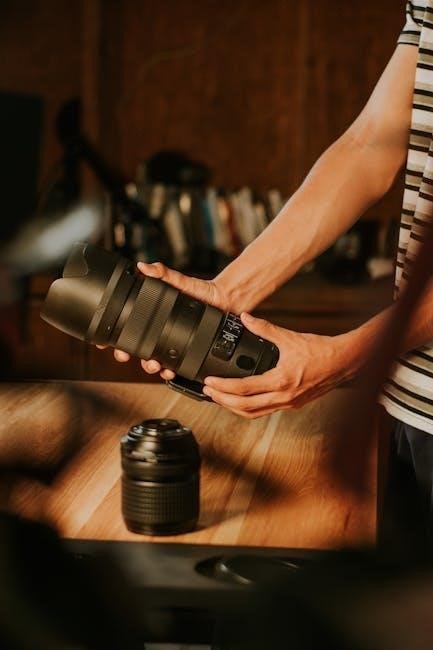
The Nikon EM supports a wide range of lenses, including Nikkor Series E and AI-type lenses. These lenses are designed to provide exceptional image quality and versatility. The camera is also compatible with other Nikon lenses, ensuring flexibility for various photography needs. Proper lens installation and usage are detailed in the manual to ensure optimal performance. Always refer to the lens instruction manual for specific settings and compatibility, especially for older or modified lenses. This compatibility makes the Nikon EM a versatile tool for photographers of all levels.

5.2 Using Series E Lenses
The Nikon EM is fully compatible with Series E lenses, which are lightweight and compact, making them ideal for everyday photography. These lenses are designed to deliver excellent optical performance while maintaining affordability. To use a Series E lens, simply attach it to the camera’s lens mount and ensure it clicks securely into place. The lens will function seamlessly with the EM’s aperture-priority auto mode, allowing for precise control over exposure. For detailed instructions on specific lenses, refer to the instruction manual provided with your Series E lens for optimal results.
5.3 Recommended Accessories
To enhance your photography experience with the Nikon EM, consider these recommended accessories. A high-quality camera strap ensures comfortable handling, while a lens cleaning kit helps maintain your gear. For low-light situations, an external flash unit is ideal. Additionally, a protective camera case safeguards your equipment during travel. Series E lenses are also great for expanding your creative possibilities. These accessories not only improve functionality but also protect your investment, ensuring your Nikon EM remains a reliable companion for capturing memorable moments.
Maintenance and Troubleshooting
Regular maintenance ensures optimal performance. Clean the camera body and lenses, check for wear, and address common issues promptly. Refer to the manual for detailed guidance.
6;1 Cleaning the Camera
Regular cleaning is essential for maintaining your Nikon EM’s performance. Use a soft, dry cloth to wipe the camera body and external surfaces. For the lens, gently remove dust with a microfiber cloth or a silicone blower. Avoid using chemicals or abrasive materials, as they may damage the camera’s finish or optical components. If necessary, lightly dampen the cloth with water, but ensure no moisture enters the camera. Proper cleaning prevents dust and dirt from affecting image quality. Always handle the camera with clean hands to minimize fingerprints and smudges. Refer to the manual for detailed cleaning procedures and recommendations.
6.2 Common Issues and Solutions
Common issues with the Nikon EM include jammed shutters, inaccurate metering, or fogging in the viewfinder. For a jammed shutter, ensure the battery is fresh and check for obstructions. If the metering system malfunctions, clean the light sensors with a soft cloth. Fogging can occur in humid conditions; allow the camera to acclimate to the environment or use a desiccant. If the frame counter doesn’t reset, reload the film correctly. For persistent problems, refer to the manual or consult a professional. Regular maintenance and proper handling can prevent most issues and ensure optimal performance of your Nikon EM camera.